This article describes how you can monitor your Postfix mail server with Mailgraph. Mailgraph creates daily, weekly, monthly, and yearly graphs of sent, received, bounced, and rejected emails and also of spam and viruses, if SpamAssassin and ClamAV are integrated into Postfix (e.g. using amavisd-new in the ISPConfig perfect server tutorial's). These graphs can be accessed with a browser.
In the following I will describe how to install and configure Mailgraph on Ubuntu 14.04. This tutorial is compatible with the ISPConfig perfect Server tutorials.
1 Preliminary Note
In this tutorial, my Linux system has the IP address 192.168.1.100 and hostname server1.example.com. Please replace the hostname and IP address with the hostname and IP aof your server wherever it appears.
2 Mailgraph installation
Ubuntu 14.04 has a package for Mailgraph, so we simply install it with apt. We will also install rrdtool that stores the data which is needed by Mailgraph to draw the graphs:
aptitude install rrdtool mailgraph
Now we configure the Mailgraph package like this:
dpkg-reconfigure mailgraph
You will be asked a few questions:
Should Mailgraph start on boot? <-- Yes
Logfile used by mailgraph: <-- /var/log/mail.log
Logfile used by mailgraph: <-- /var/log/mail.log
There is one more question:
Ignore mail to/from localhost? <-- Yes
If you have integrated a content filter like amavisd (for spam and virus scanning) into Postfix (like in ISPConfig 3 Perfect Server Tutorials), then answer Yes to avoid that Mailgraph counts your emails twice (because Postfix delivers emails to amavisd which then - after successful scanning - delivers the emails back to Postfix). If you don't use a content filter, then answer No.
During the installation, the system startup links for Mailgraph are created automatically, and Mailgraph also gets started automatically, so we don't need to start it manually.
Mailgraph is now accessible trough the hostname or IP of your server. Open a web Browser and enter the URL http://192.168.1.100/cgi-bin/mailgraph.cgi or http://server1.example.com/cgi-bin/mailgraph.cgi, and you should see some graphs. Of course, there must be some emails going through your system before you see the first results, so be patient.
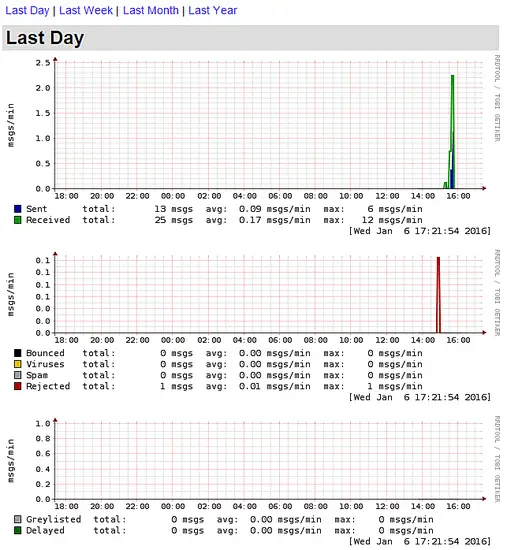
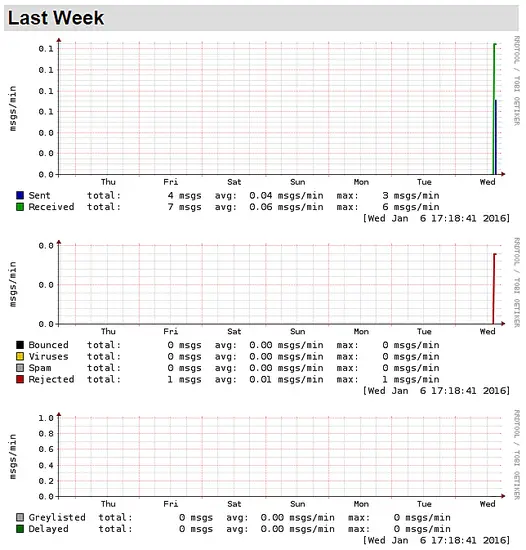
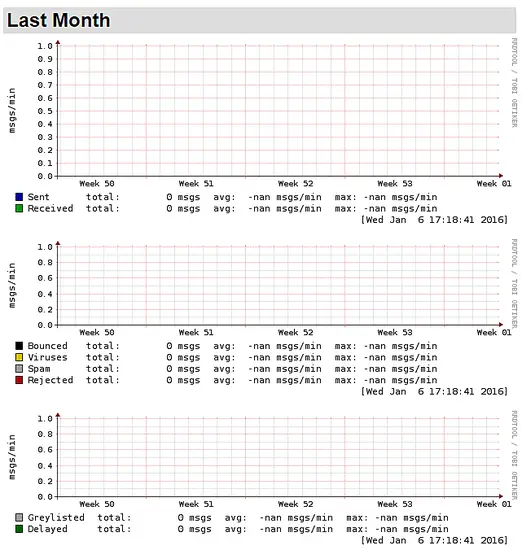
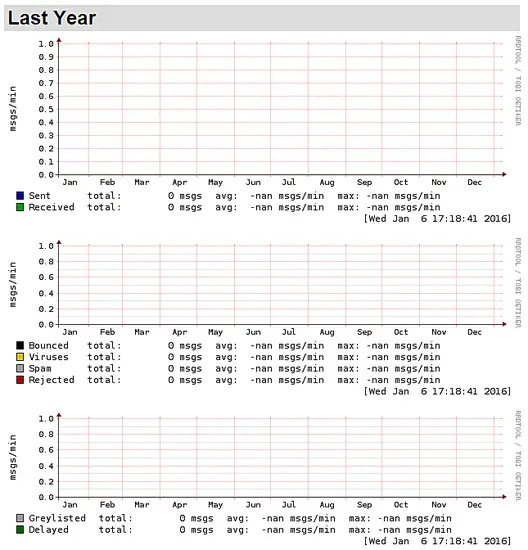
After some time your graphs could look like this (the following output is customized, so it doesn't look exactly like yours):
Daily Statistics.
Weekly Statistics.
Monthly Statistics.
Yearly Statistics, not much to see here yet as this installation is too fresh...
Please note: Mailgraph will report spam and viruses only if you have integrated a content filter like amavisd-new into Postfix which is configured to use SpamAssassin and ClamAV to tag spam and virus emails. If you don't do this, you will still see graphs, but without the spam and virus report.
3 Password protect Mailgraph
The default Mailgraph installation does not add kind of protection for the statistics interface. You probaly don't want that everyone can see your email stats, so we add a password protection now.
Add a config directory for Mailgraph in /etc.
mkdir /etc/mailgraph
Then create a new apache configuration file for Mailgraph:
nano /etc/apache2/conf-available/mailgraph.conf
And add the following lines into that file:
<Location /cgi-bin/mailgraph.cgi>
 AuthUserFile /etc/mailgraph/mailgraph-htpasswd
 AuthName "Mailgraph"
 AuthType Basic
 Require valid-user
</Location>
Enable the configuration in apache and reload the apache2 service.
a2enconf mailgraph
service apache2 reload
service apache2 reload
Add a user and password for Mailgraph. I will use the username "admin" with password "howtoforge" in this example.
htpasswd -c /etc/mailgraph/mailgraph-htpasswd admin
Enter the new password twice when requested by the command.


No comments :
Post a Comment